

UniVRT is a video platform that helps you broadcast and record your video. It integrates different kind of video source such as from webcam, IP camera or screen display and displays them on the same screen.
So let's look at how it works:
1. Installing UniVRT
2. Setting up UniVRT
3. Sharing UniVRT
Click here to learn how to record video , and here for advanced setting.
First, download UniVRT and extract it.


Use the default one when it asks about SQL.

UniVRT has recording features so it will ask you where you want to save your files.

Click Next on this screen.

Follow all on screen instructions, then it will come to the "Finish" page.

It will ask you to restart your computer to apply those settings.

2. Setting up UniVRT
UniVRT's icon and short cut icon names UniArgus Express. UniVRT is the simplier version of UniArgus Express. They cannot co-exist on the computer at the same time. You have to get one uninstalled. Click here to learn more about UniArgus Express.

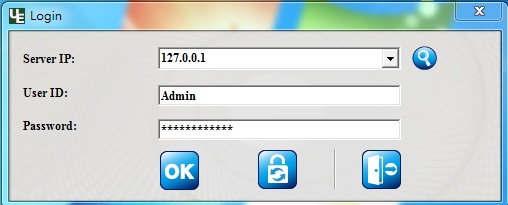
Run UniVRT. It will ask you to log in, just click OK to log into the default server.
Add device wizard will automatically pop up for first time user.
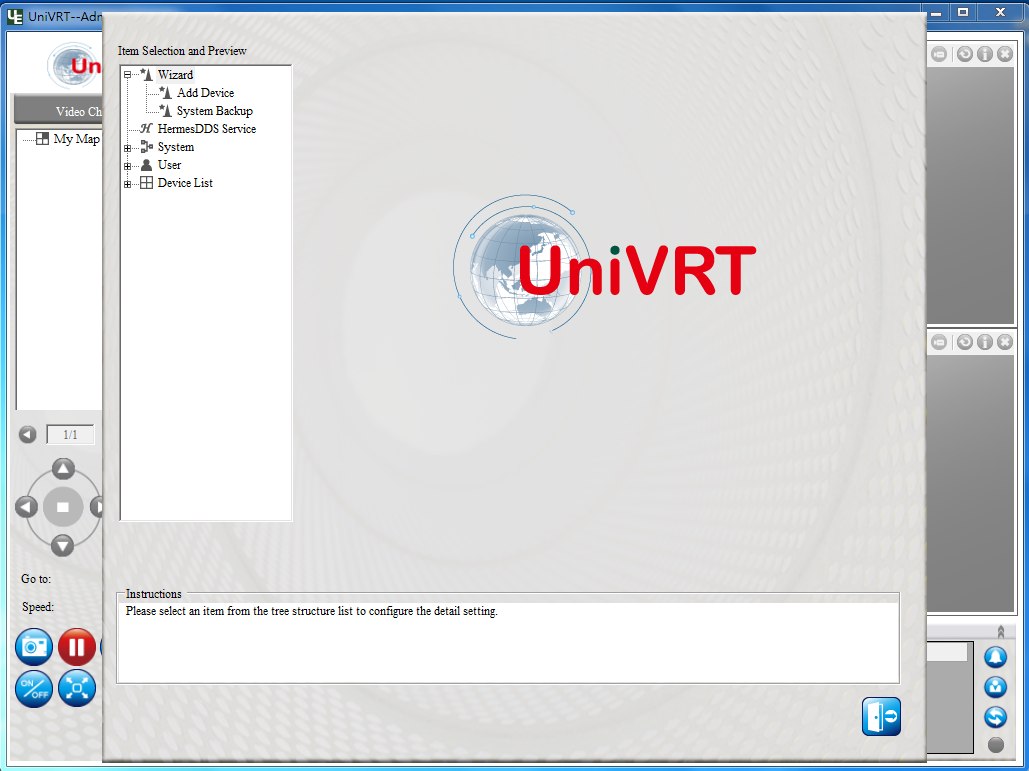
It can also bring it up again here.

Expand Wizard by double click, then choose "Add device"

You can click here to learn more about other UniVRT setting.
Follow the instruction, choose "Search for available HermesDDS Device". Don't pick other options, they are for industrial use!

Since it is your first time, it will ask you to enable HermesDDS service first.

Check the "Enable HeremsDDS" box. Enter your HermesDDS account information, then click the search button to find your UniVRT device.

Then you can pick what cameras you will like to add to UniVRT. UniVRT supports up to 4 cameras. Note that even HWSS can have 4 video sources, but UniVRT will ONLY TAKE THE FIRST CAMERA on your HWSS.

You can pick your recording option. Click here to learn more about recording with UniVRT, including schedule time and manually record.

Next page will ask you if you would like to add more device. But you can always come back to add more later.

Then exit the wizard.

Give it a minute to connect to the camera. Remeber to TURN ON the cameras! For example, you will need to START you HWSS for UniVRT to connect. This is showing eMC (eLook Mobile Cam, click here to learn how to use) and HWSS (Hercules Webcam Sharing Software, click here to learn how to use).

3. Using and Sharing HWSS
You can watch UniVRT directly or watch it on UniArgus Viewer. On you computer, open HermesDDS AP, then double click the device, it will run automatically. If you computer does not have supporting software, it will automatically download. You can also share your device on HermesDDS AP. Click here to learn how to use HermesDDS AP.
You can watch UniVRT directly or watch it on UniArgus Viewer. On you computer, open HermesDDS AP, then double click the device, it will run automatically. If you computer does not have supporting software, it will automatically download. You can also share your device on HermesDDS AP. Click here to learn how to use HermesDDS AP.
To watch on Android device, you can download eLook Viewer on Google Play store. Click here to learn how to watch on eLook Viewer.
No comments:
Post a Comment